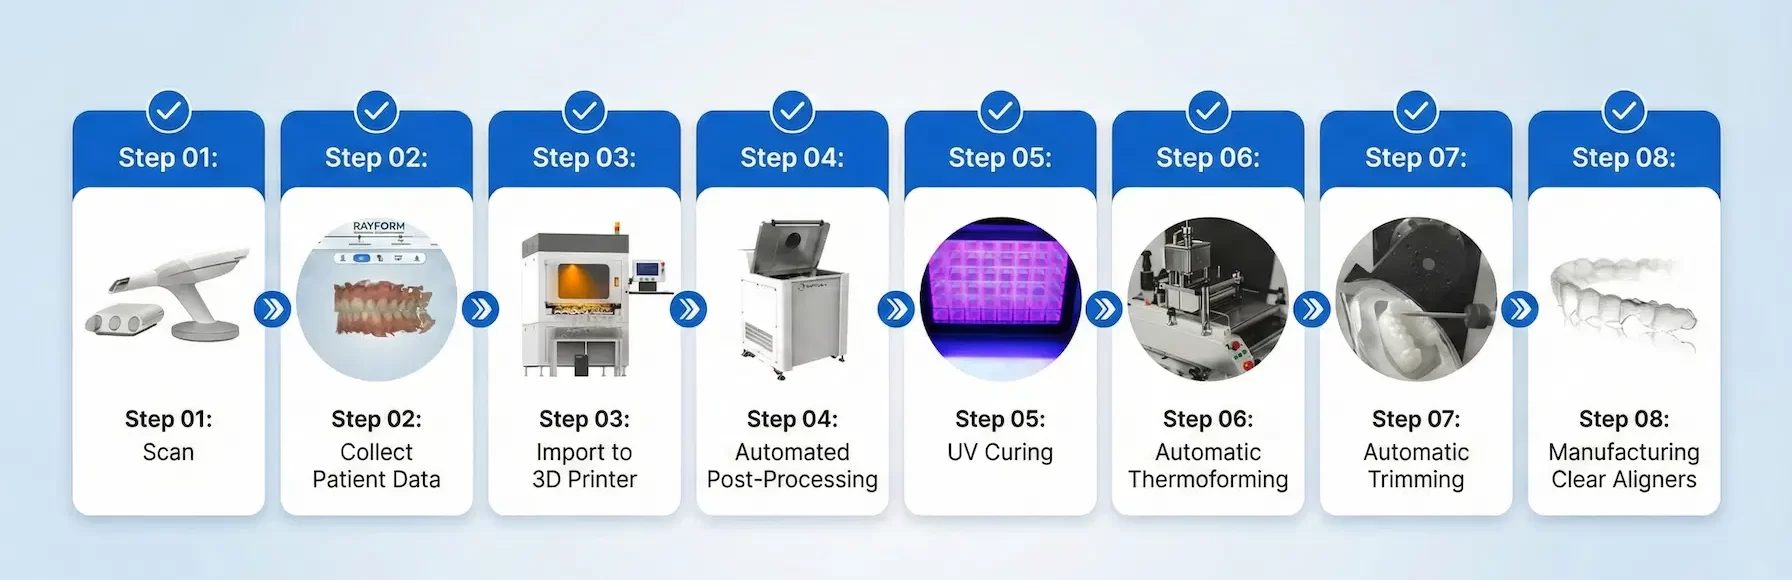
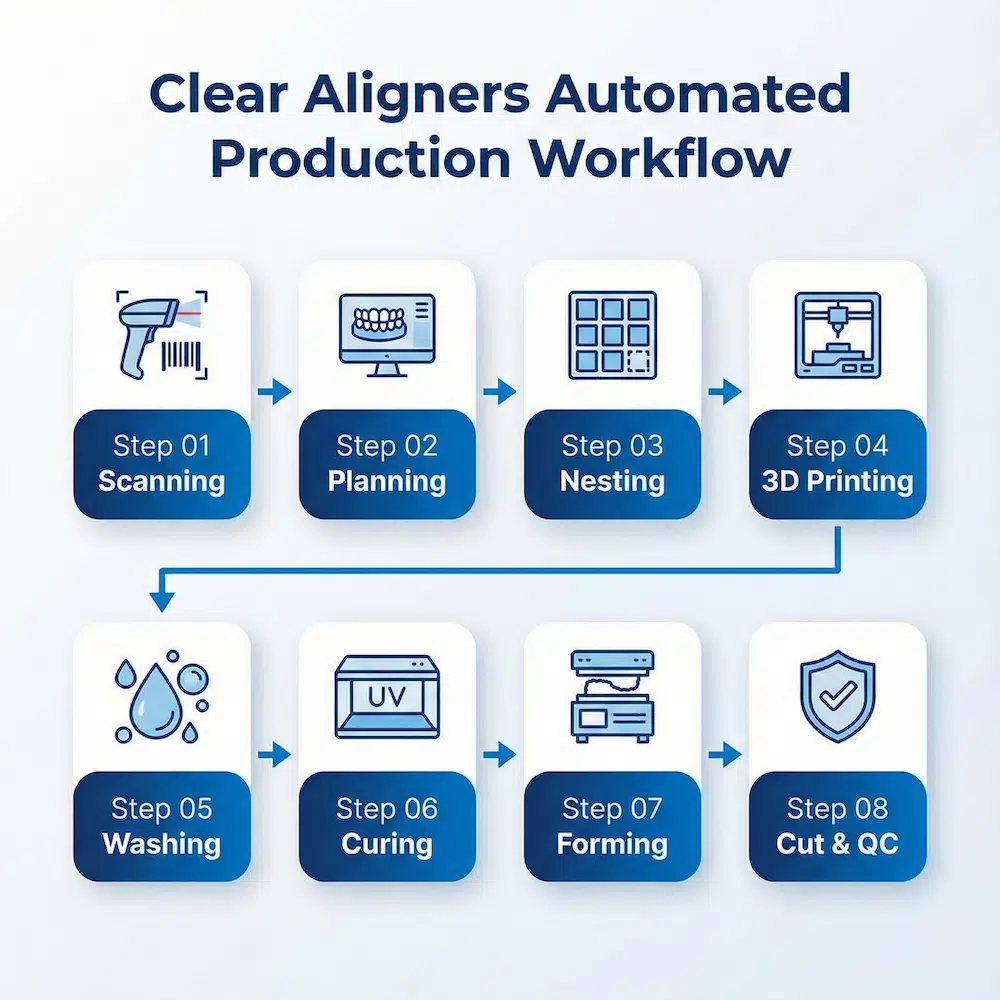
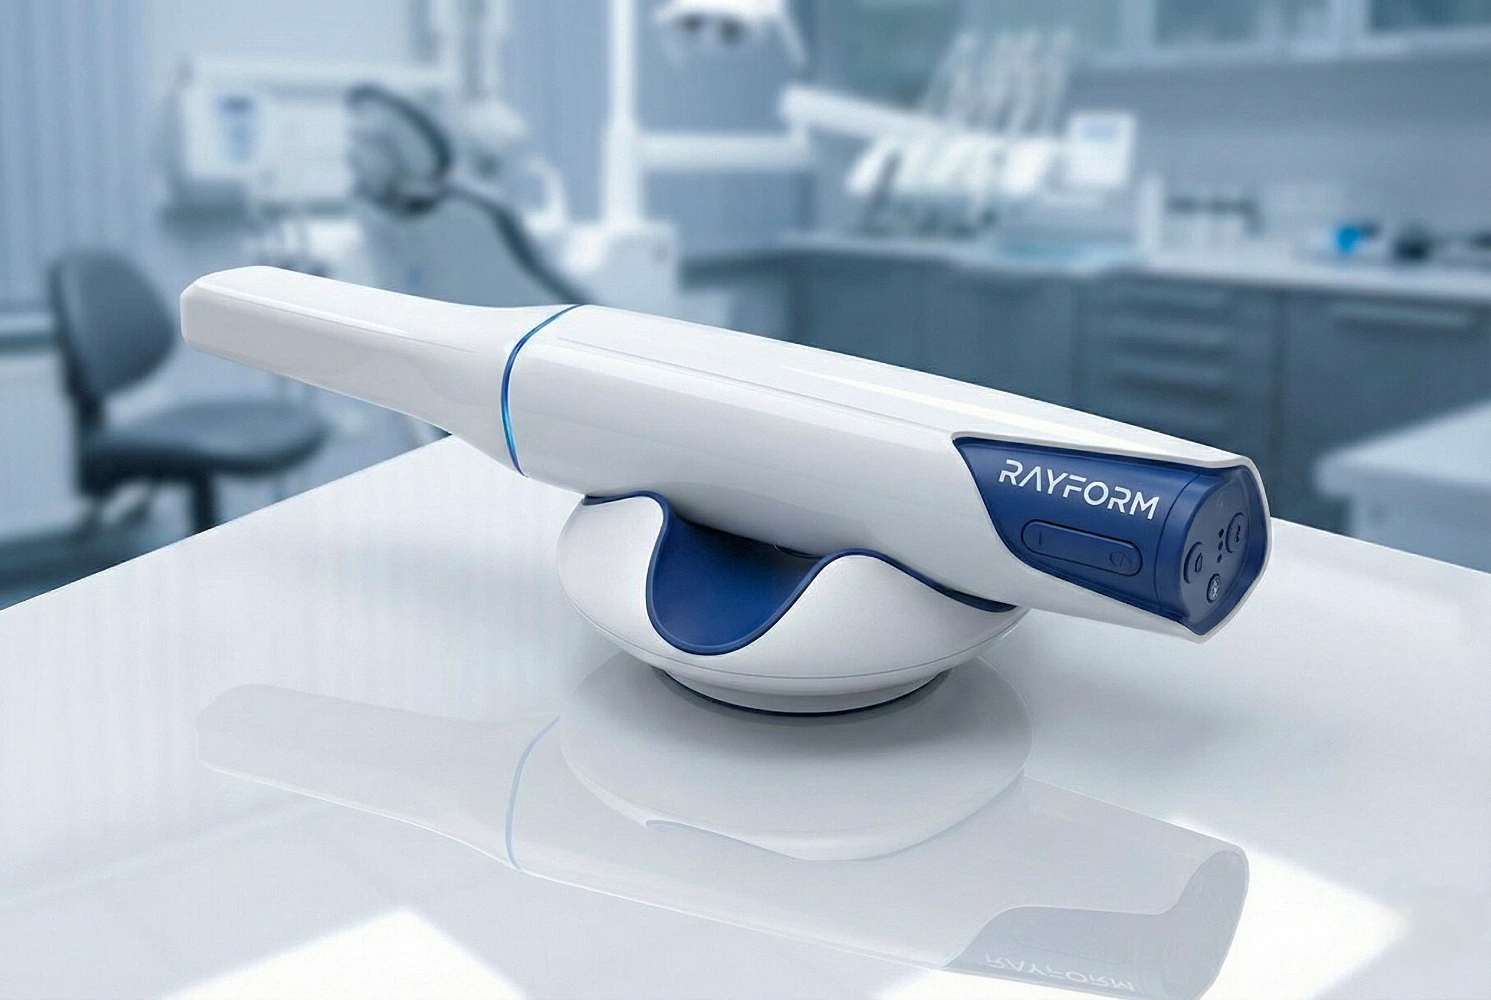
Scanning & Data Acquisition
It all starts with precise data. RayForm’s digital workflow is compatible with all major intraoral scanners — including 3Shape, iTero, and Medit. We support direct import of STL/PLY format files, ensuring instant transmission of patient dental data.
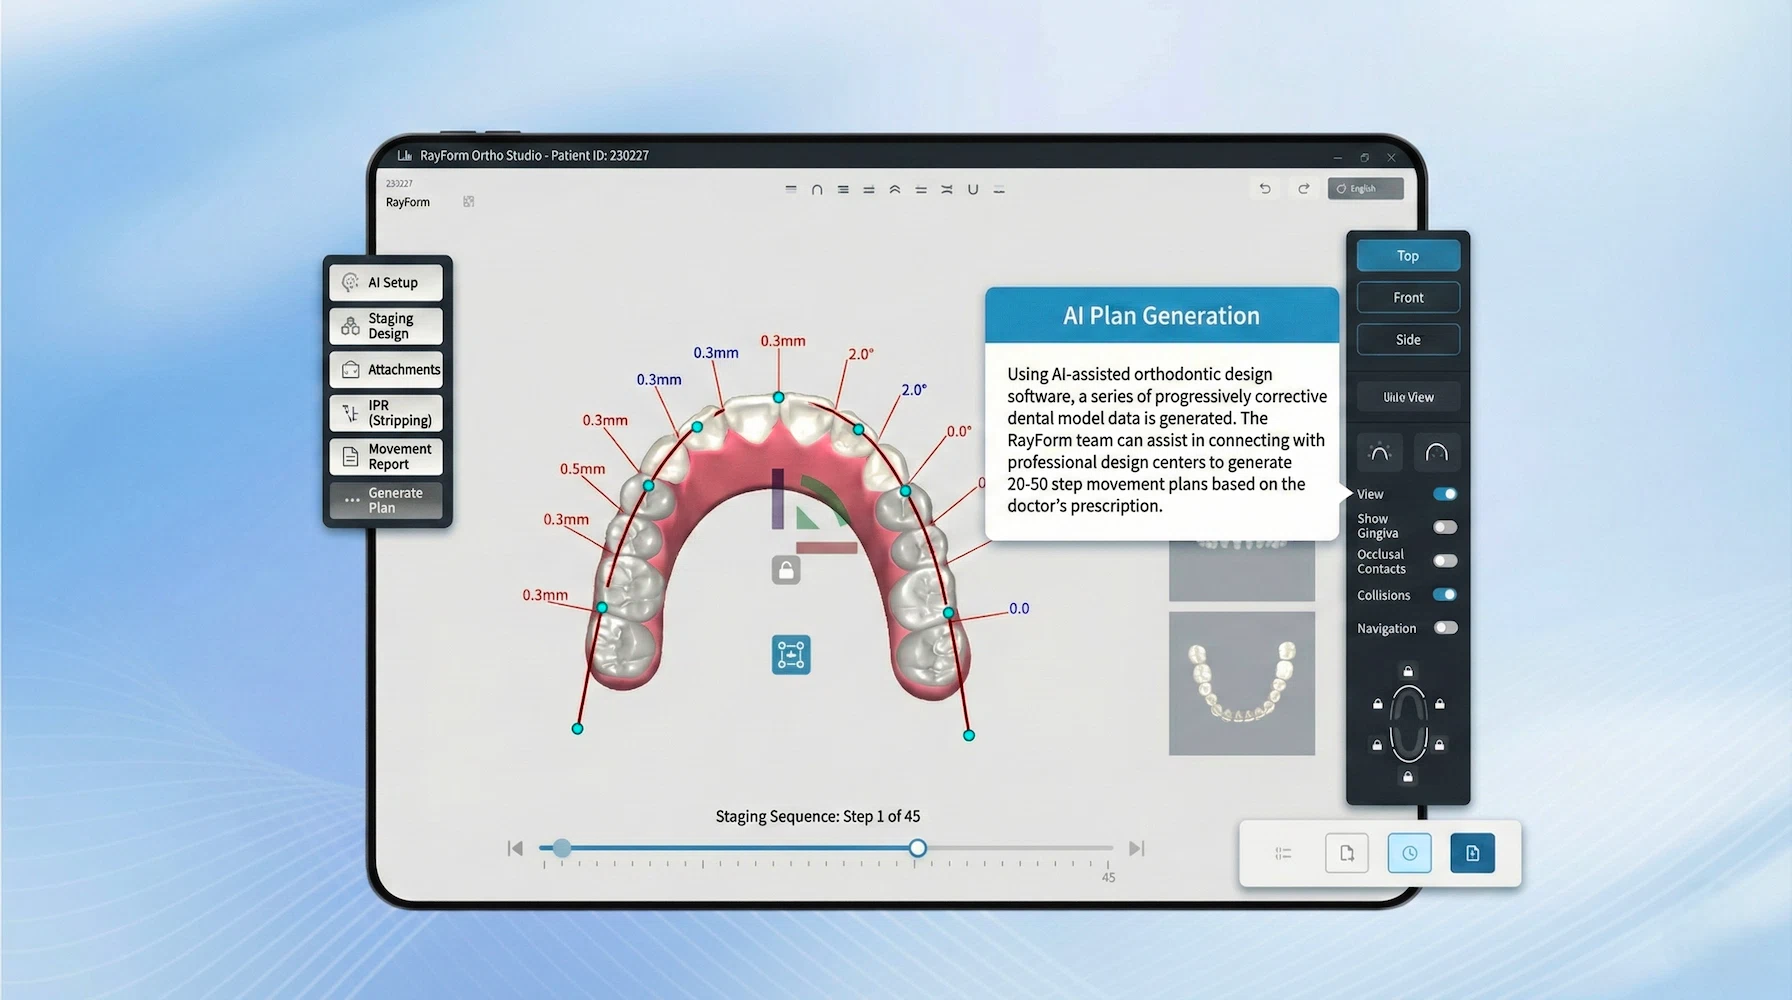
AI-Powered Treatment Planning
Using AI-assisted orthodontic design software, a series of progressively corrective dental model data is generated. The RayForm team can assist in connecting with professional design centers to generate 20–50 step movement plans based on the doctor’s prescription.
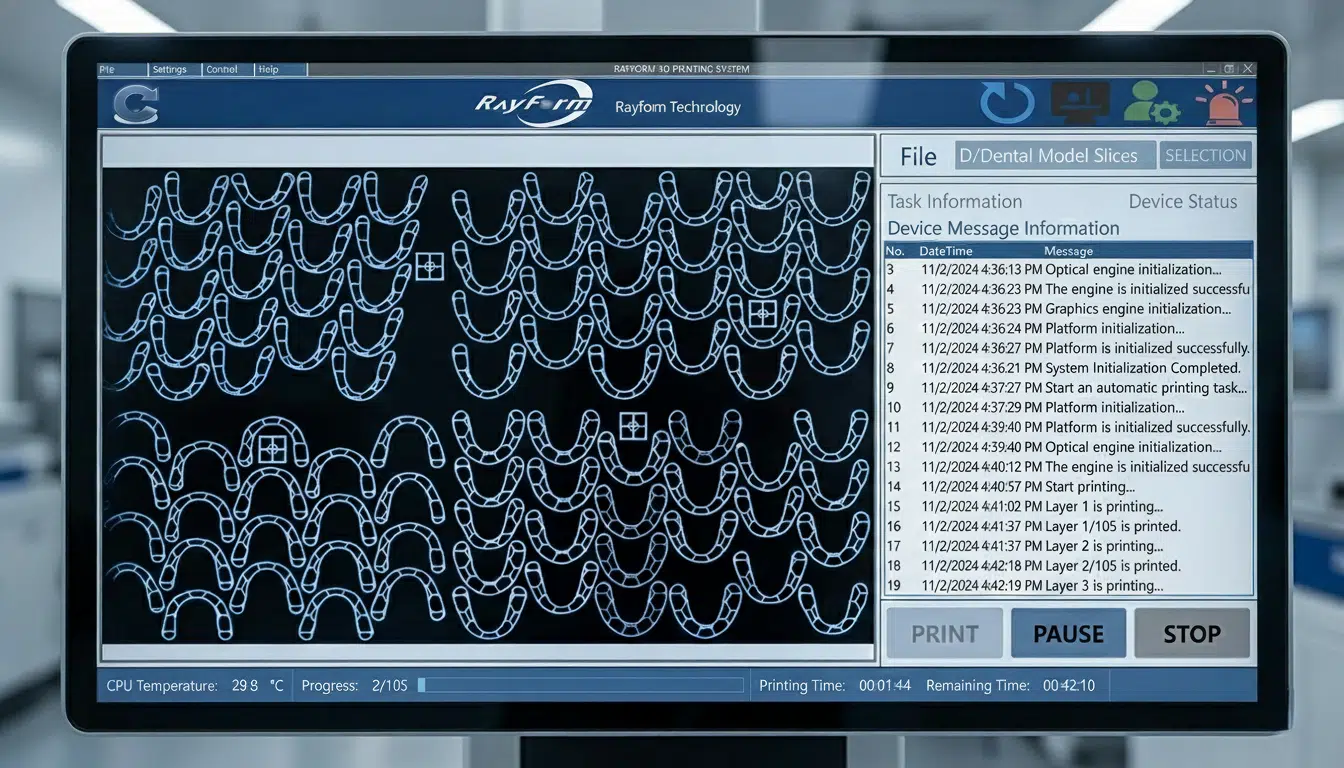
Intelligent Nesting & Slicing
To maximize mass production efficiency, our intelligent nesting software automatically lays out or stacks hundreds of dental models from dozens of patients onto the printing platform with a single click — and adds unique tagging to prevent production mix-ups.

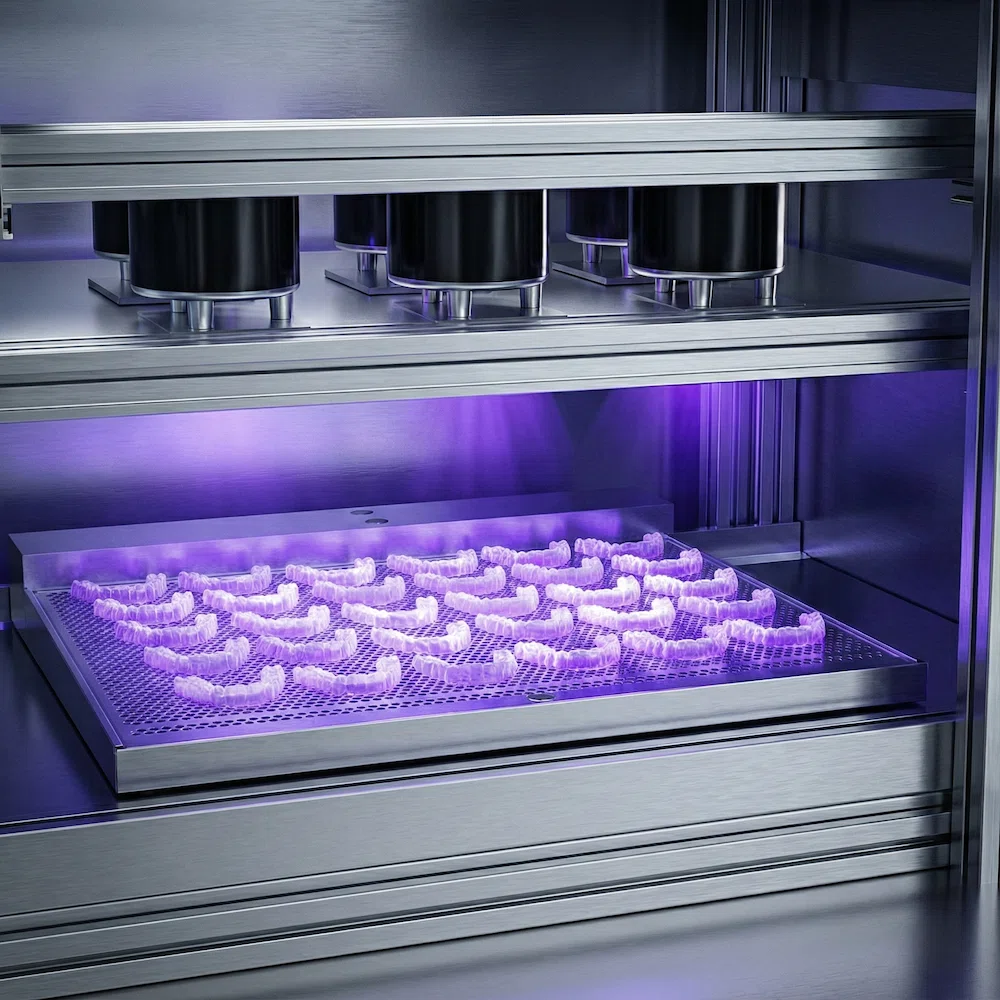
High-Speed 3D Printing
The core of the workflow — RayForm Ortho Model Resin paired with HADP™ array printers. The resin is engineered for vacuum lamination with ultra-high temperature resistance (HDT) and surface hardness, ensuring zero deformation during thermoforming.
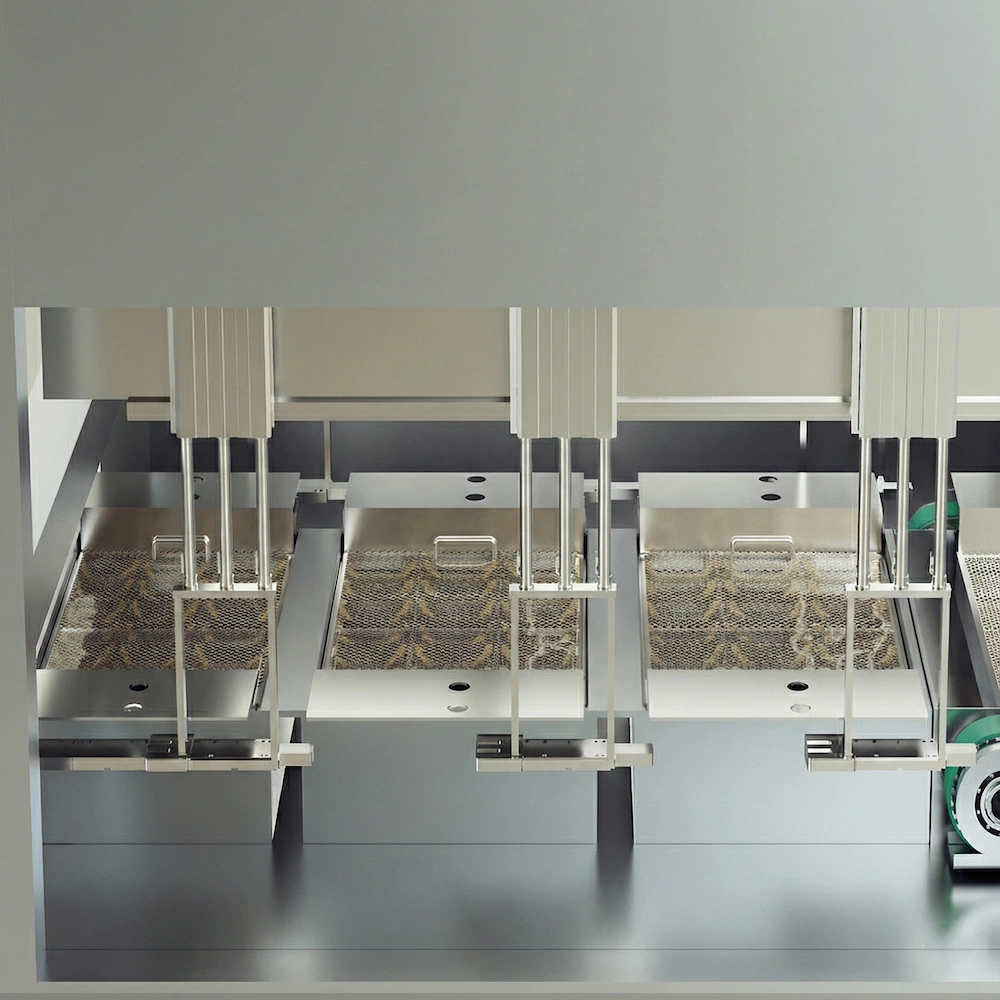
Automated Post-Print Washing
After printing, isopropyl alcohol (IPA) removes residual resin from the surface. RayForm provides SOP cleaning parameters and recommends a two-stage “coarse + fine” cleaning process to ensure a tack-free model surface and guarantee final aligner transparency.
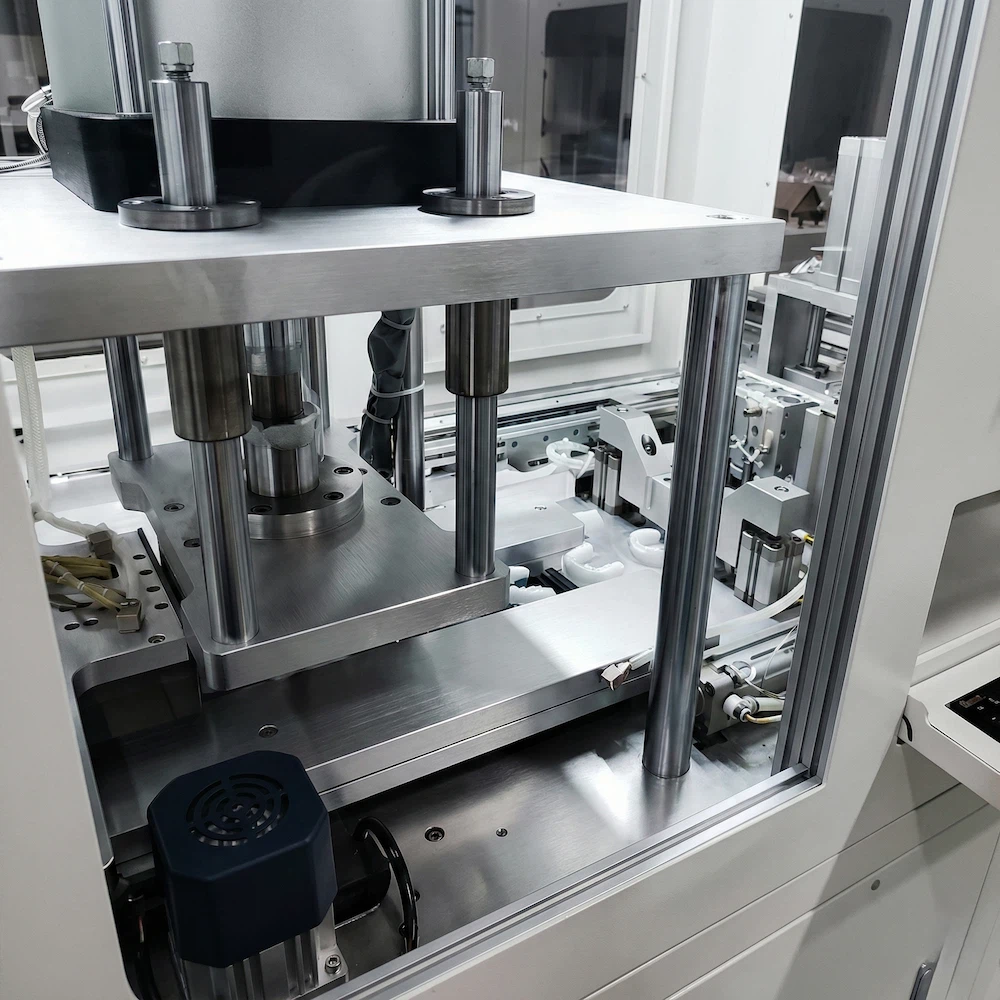
Vacuum Thermoforming
The transparent membrane (TPU/PETG) is softened by heating and tightly bonded to the cured 3D-printed dental mold under vacuum and high pressure. RayForm modeling resin’s excellent breathability and surface detail ensure precise membrane molding and comfortable patient wear.
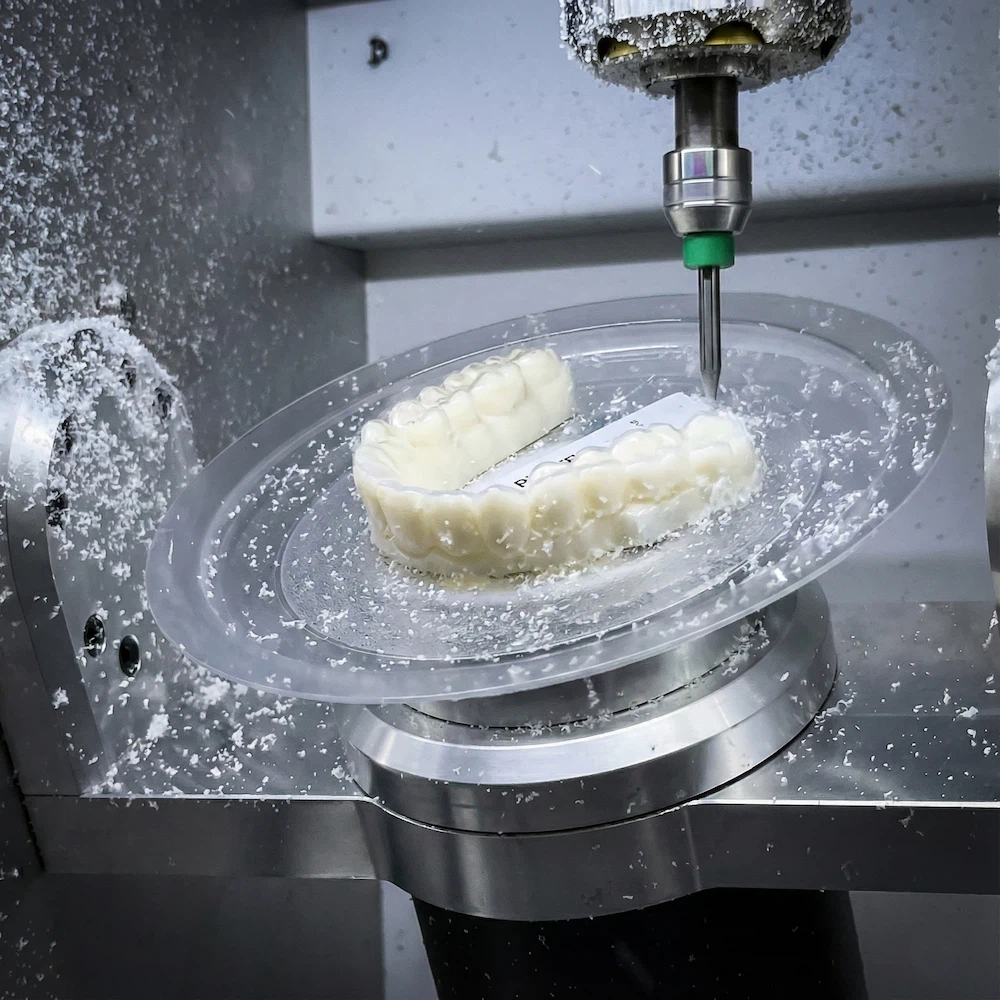
Trimming, QC & Delivery
The final step involves cutting excess membrane along the gum line via laser cutting or CNC milling, then polishing the edges. After rigorous quality control, each aligner is cleaned, sterilized, and packaged — completing a high-quality clear aligner ready for patient delivery.
Ready to Scale Your
Aligner Production?
Request a free sample kit or talk to our workflow specialists to discover how RayForm can transform your dental lab’s efficiency and output quality.