How to Fix Sticky Surfaces on 3D Printed Dental Resin Parts
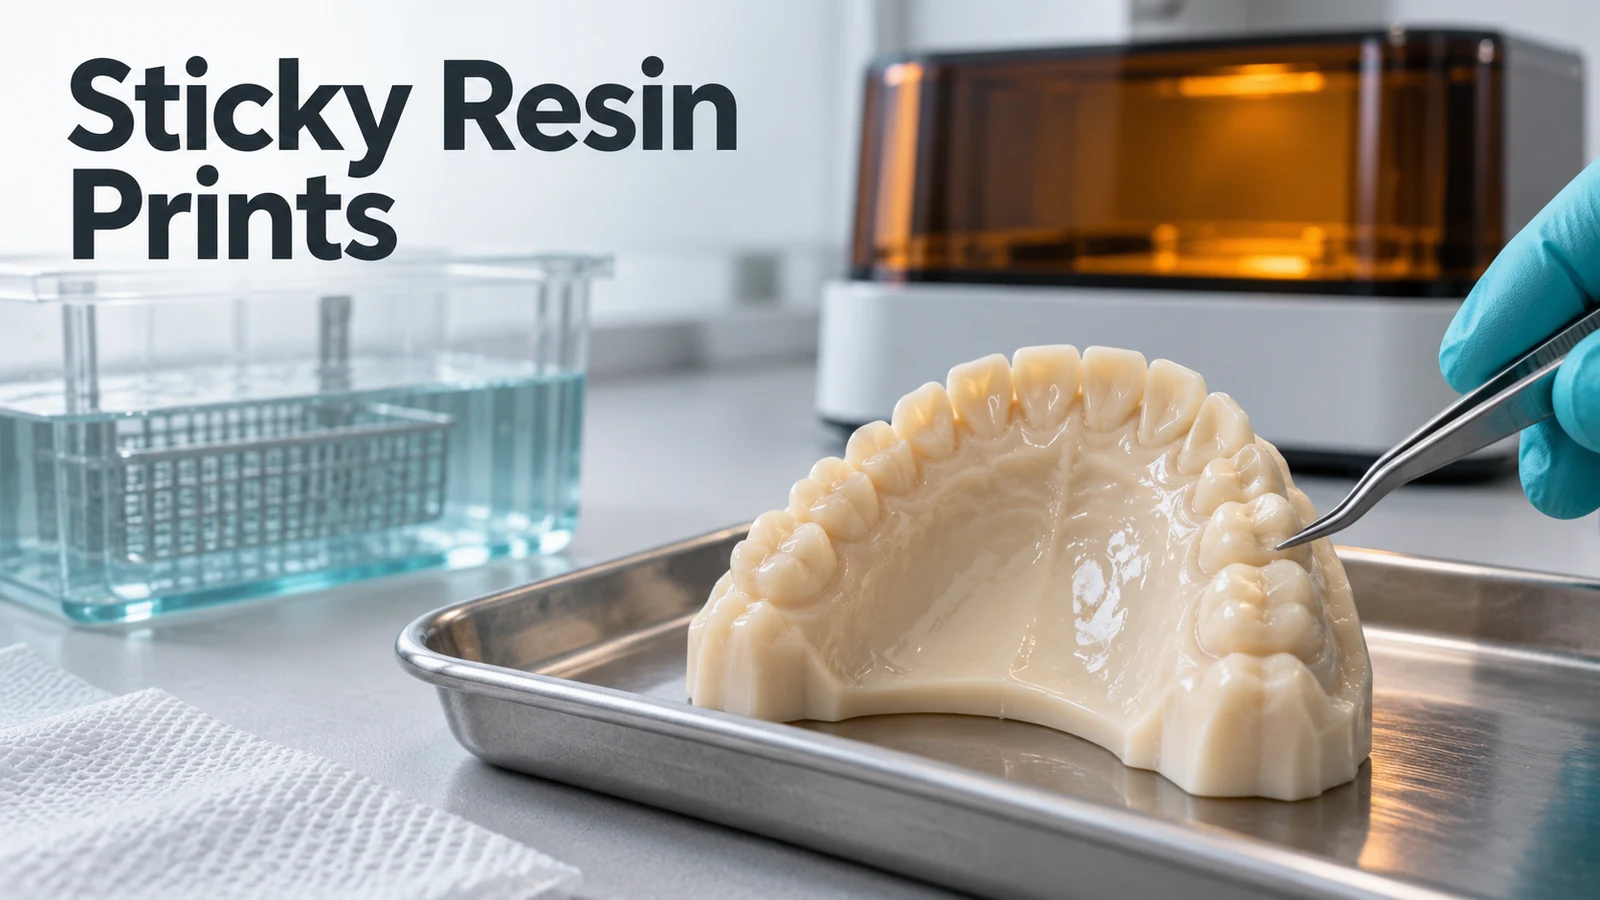
Sticky or tacky surfaces are a common post-processing problem in dental resin 3D printing. A dental model may come out of the printer with accurate geometry, yet still feel sticky after washing or UV curing. For dental labs producing models, crowns, surgical guides, splints, and denture bases, this can delay finishing, introduce surface defects, and require additional quality checks.
In many cases, sticky dental resin 3D prints are caused by residual uncured resin, contaminated cleaning solvent, incomplete drying, or incorrect post-curing conditions. However, the right solution depends on the material and the stage at which the problem appears.
This guide explains how to identify the cause of sticky resin surfaces, correct the washing and curing process, and prevent recurring defects in dental production.
Why Do 3D Printed Dental Resin Parts Stay Sticky?
A sticky surface does not always mean that the entire print is undercured. A thin layer of uncured resin may remain on an otherwise well-formed part. Alternatively, the cleaning process may redistribute dissolved resin across the surface, leaving a tacky film after the solvent evaporates.
The most useful first step is to identify when the stickiness becomes noticeable.
| Surface Condition | Possible Cause | Recommended Check |
|---|---|---|
| Sticky immediately after washing | Residual liquid resin or insufficient cleaning | Check washing time, cleaning method, and solvent condition |
| Sticky after the solvent dries | Resin contamination in the cleaning bath | Repeat the approved cleaning process using fresh solvent |
| Sticky after UV post-curing | Incorrect curing conditions or residual resin | Check resin-specific curing settings and surface cleanliness |
| Sticky only in recessed areas | Inadequate cleaning around fine details | Inspect grooves, holes, support areas, and internal surfaces |
| Sticky on only one side | Uneven UV exposure or incomplete cleaning | Check part orientation and curing light coverage |
| Sticky across multiple production batches | Repeatable washing, curing, or material-handling issue | Review the shared process settings and equipment condition |
1. Remove Residual Uncured Resin Before Post-Curing
One of the most common reasons for sticky dental resin prints is incomplete removal of liquid resin during washing.
Even when a printed dental model looks clean, residual resin can remain around occlusal details, support-contact areas, narrow grooves, and internal features.
If the part enters a curing chamber with liquid resin still on its surface, the remaining material may harden into an uneven coating rather than producing the intended surface finish.
How to fix it:
- Inspect the surface before curing. Look for glossy patches, visible liquid residue, or resin collected around detailed areas.
- Use the correct cleaning agent. Follow the instructions for the exact resin rather than assuming that all dental resins can be washed with IPA.
- Clean difficult-to-reach surfaces. Pay particular attention to recesses, support-contact areas, and enclosed features.
- Use fresh cleaning solution when necessary. A contaminated bath may redeposit dissolved resin onto the part.
- Allow complete drying. Do not transfer parts into the post-curing chamber while the washing solvent remains on the surface.
For RayForm dental resins, the cleaning method and duration depend on the material. The RayForm Resin Post-Processing Database provides material-specific reference settings.
2. Check Whether Your Washing Solvent Is Contaminated
A cleaning bath gradually accumulates dissolved resin as more printed parts are washed.
When the solvent becomes contaminated, its cleaning effectiveness decreases. Instead of removing uncured resin completely, it may leave a thin resin-containing film on the printed surface.
This problem can be particularly noticeable in dental labs processing multiple batches of models each day.
How to fix it:
- Replace cleaning solvent when it no longer cleans effectively.
- Use separate cleaning stages where required by the resin instructions.
- Keep the final cleaning stage free from excessive resin contamination.
- Avoid mixing different resin residues in the same cleaning container when contamination could affect the process.
- Record solvent replacement and recurring surface-quality issues to help identify production patterns.
A two-stage washing process can help. The first stage removes most of the uncured resin, while the second stage uses cleaner solvent to remove remaining surface contamination. The correct cleaning method must follow the material's instructions.
3. Verify the Correct Dental Resin Post-Curing Settings
If a part is clean and dry but still feels sticky after UV curing, the next step is to inspect the curing process.
Insufficient UV exposure, incompatible curing equipment, or incorrect curing duration may leave the surface inadequately cured.
Before increasing curing time, check whether the curing device and resin are being used under the recommended conditions.
RayForm Dental Resin Post-Processing Reference
RayForm provides different cleaning and curing settings for its dental resin categories.
| Dental Resin Type | Cleaning Method | Cleaning Duration | UV Irradiance | Curing Time |
|---|---|---|---|---|
| Water-Washable Resin | Water | 2 + 3 min | 10–50 mW/cm² | 10 min |
| Dental Model Resin | Ethanol | 2 + 3 min | 10–100 mW/cm² | 10 min |
| Implant Model Resin | Ethanol | 2 + 3 min | 10–100 mW/cm² | 4 min |
| Denture Base Resin | IPA | 3 + 3 min | 10–50 mW/cm² | 5 min |
| High-Temperature Model Resin | Ethanol | 2 + 3 min | 10–100 mW/cm² | 10 min |
“2 + 3 min” indicates rough cleaning followed by fine cleaning. The listed curing arrangements use double-sided exposure. RayForm also publishes alternative configurations for certain materials, and denture base curing includes a recommended temperature of 45°C.
Reference scope: These are selected database reference configurations, not a universal protocol. Confirm the exact resin product code and its current TDS/IFU with RayForm before use, especially where the database and product documentation differ.
What Should You Check If a Part Is Still Sticky After Curing?
- UV irradiance: Confirm that the curing equipment provides the required light intensity for the selected resin.
- Exposure duration: Use the specified time for the applicable curing configuration.
- Light distribution: Check whether the complete part receives appropriate exposure.
- Equipment condition: Inspect the UV light source, curing chamber, and any rotating components for operational problems.
- Surface cleanliness: Confirm that residual resin and cleaning solvent have been removed before curing.
Longer curing is not automatically better. Excessive or uncontrolled post-curing may affect dimensional stability and material properties.
4. Check Whether the Problem Comes from Printing Parameters
Sometimes, sticky surfaces are associated with defects introduced during printing rather than the washing process alone.
Incorrect exposure settings can produce poorly formed details or insufficiently cured layers, which may complicate cleaning and finishing.
Dental printing parameters vary with the resin, printer model, light source, and layer height.
For example, a resin profile developed for one LCD printer should not automatically be transferred to another printer with different optical characteristics.
If surface stickiness occurs together with soft details, distorted features, or weak structures, examine the print settings before changing the cleaning process.
Recommended checks:
- Confirm the printer model and selected resin profile.
- Check normal exposure time and layer height.
- Inspect whether the problem occurs throughout the print or only in particular areas.
- Compare the failed part with a known acceptable print.
- Run a controlled calibration print if the current settings have not been validated.
RayForm provides a Dental Resin Printing Parameter Database covering multiple LCD and DLP printer models.
For a more detailed example of machine-specific parameter adjustments, see Dental Resin Print Settings for Phrozen and Anycubic.
5. How to Troubleshoot Sticky Dental Resin Prints Step by Step
If the cause is unclear, follow a consistent inspection sequence rather than changing multiple settings simultaneously.
| Step | What to Do | What It Helps Determine |
|---|---|---|
| 1 | Inspect the printed surface before washing | Whether uncured resin has accumulated in specific areas |
| 2 | Check the cleaning agent and washing duration | Whether the process matches the resin instructions |
| 3 | Inspect solvent condition | Whether dissolved resin is causing contamination |
| 4 | Repeat the approved cleaning process on a suitable test part using fresh solvent | Whether insufficient washing caused the tackiness |
| 5 | Allow the test part to dry completely | Whether residual solvent contributes to the problem |
| 6 | Verify curing time, irradiance, and equipment operation | Whether inadequate curing is involved |
| 7 | Check the printer's resin-specific exposure profile | Whether print formation needs further investigation |
| 8 | Inspect the finished part and document the outcome | Whether the corrective action resolved the defect |
For production consistency, change one process variable at a time whenever possible. Otherwise, it becomes difficult to identify which adjustment actually solved the problem.
Important: If a dental crown, surgical guide, splint, denture base, or other patient-contact device remains tacky after its specified validated process, do not release it for clinical use. Quarantine the part and follow the applicable quality and material instructions to determine whether it must be rejected and reprinted.
6. How to Prevent Sticky Resin Surfaces in Daily Dental Lab Production
Preventing recurring tackiness is more efficient than repeatedly cleaning or reprinting finished dental parts.
For laboratories processing multiple resin types, consistent material identification and post-processing records are especially important.
- Use resin-specific workflows. Do not apply one washing and curing program to all dental materials.
- Control solvent cleanliness. Establish a replacement and inspection routine for cleaning baths.
- Keep printed parts clean before curing. Check complex geometry and surfaces where liquid resin may collect.
- Monitor curing equipment. Verify the condition and operating settings of UV curing systems.
- Maintain printing profiles. Record the printer model, resin type, exposure parameters, and layer height.
- Inspect representative finished parts. Include surface tackiness, visible residue, dimensional accuracy, and other applicable acceptance criteria.
These measures are particularly useful when a dental lab operates several printers or processes different materials within the same production area.
FAQ: Sticky Dental Resin 3D Prints
Why is my dental resin print still sticky after UV curing?
Possible causes include residual uncured resin, contaminated washing solvent, incomplete drying, incorrect curing settings, or poor UV exposure distribution. Inspect washing conditions first, then verify the curing equipment and resin-specific protocol.
Can I fix sticky resin prints by curing them longer?
Not necessarily. If the problem is caused by residual resin contamination, additional UV exposure may harden the residue without restoring the intended surface quality. Check cleaning and drying before adjusting curing conditions. Do not extend curing beyond validated instructions for patient-contact devices.
Should I use IPA to remove sticky surfaces from dental resin prints?
Only when IPA is an approved cleaning agent for the material. RayForm's published instructions include different cleaning methods for different resin categories, including water, ethanol, and IPA. Always verify the exact resin before selecting a solvent.
Why do my dental resin prints become sticky only after washing?
A contaminated cleaning bath can leave dissolved resin on the surface. Incomplete rinsing and residual cleaning liquid may also contribute. Check solvent cleanliness and whether the part has been fully dried.
When should I reprint a sticky dental resin part?
Reprinting may be necessary when the part cannot meet the applicable material processing and quality requirements, when its dimensions or structural integrity are affected, or when the specified process has not been followed. For patient-contact applications, acceptance must be based on the relevant validated workflow.
Get Technical Support for RayForm Dental 3D Printing Resins
Sticky surfaces do not always indicate a defective resin. The problem may result from the interaction between material selection, washing conditions, printer settings, and UV post-curing.
RayForm supplies dental 3D printing resins for applications including dental models, crowns, surgical guides, splints, and denture bases, together with resin technical documents and printing parameter references.
If you are experiencing recurring sticky surfaces with RayForm resin, send us your resin product code, printer model, printing parameters, cleaning method, curing equipment, and photos of the defect. Our team can help you review the relevant material information and identify the next troubleshooting steps.
For material specifications and technical documents, visit the RayForm Technical Support Center.