Why Are Dental Resin Prints Not Sticking to the Build Plate?
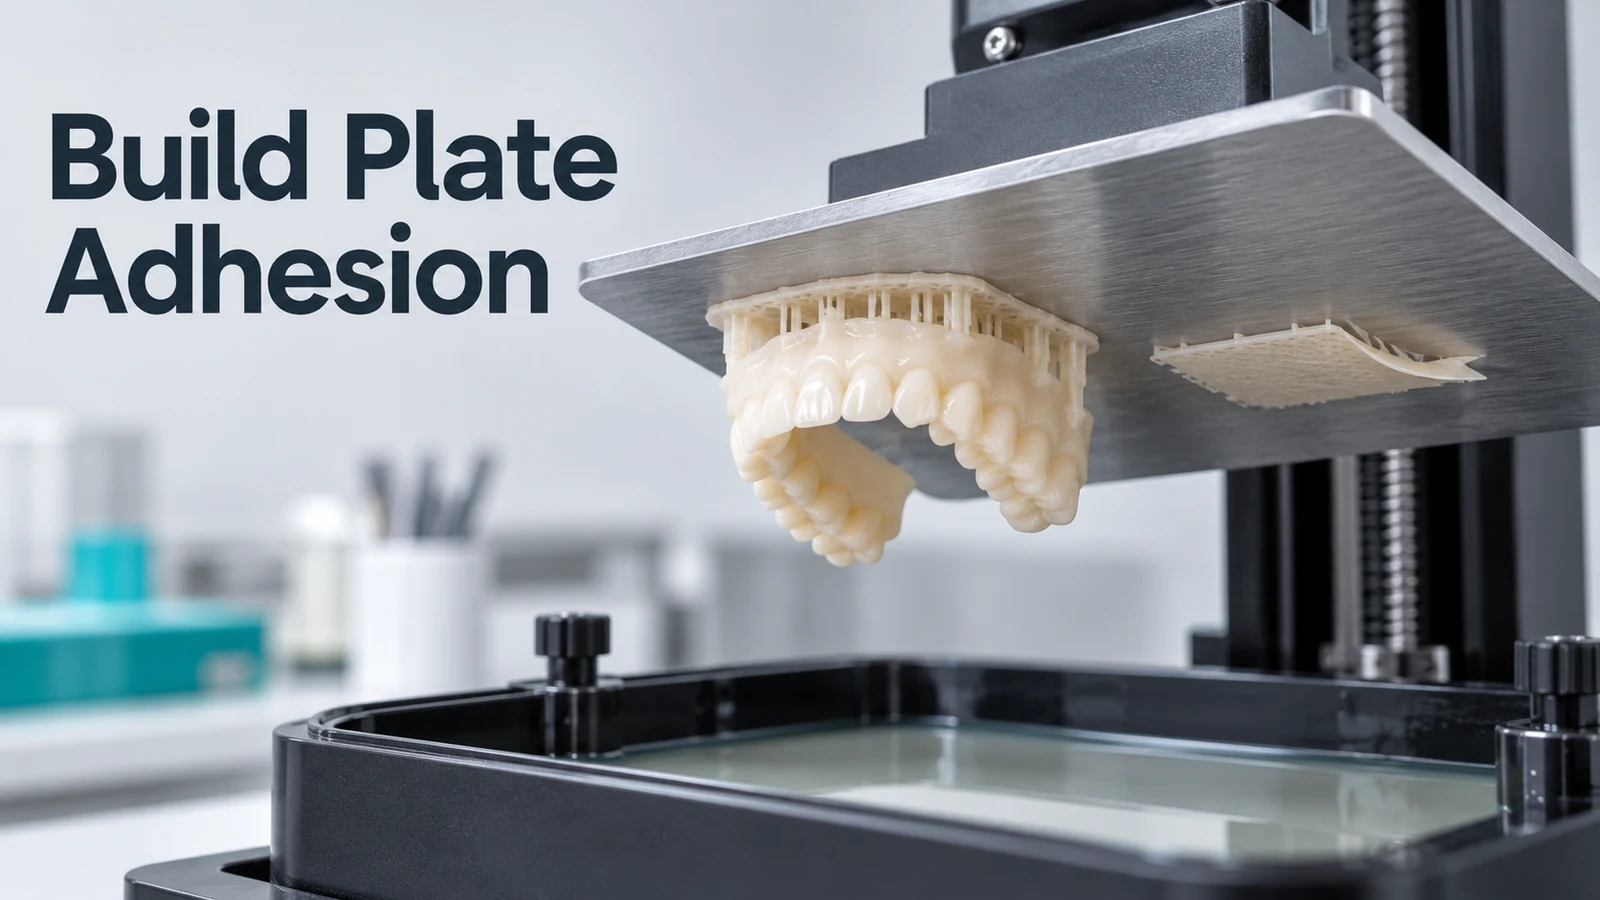
When a dental resin 3D printing job finishes with an empty build plate, a partially detached model, or a cured resin layer stuck to the bottom of the vat, the problem is usually related to build plate adhesion failure.
For dental labs producing orthodontic models, implant models, surgical guides, and other resin-printed parts, repeated adhesion failures mean wasted materials, additional machine cleaning, interrupted production schedules, and higher costs per successful print.
Dental resin prints may fail to stick to the build plate because of incorrect leveling, insufficient bottom exposure, contaminated printing surfaces, unsuitable resin temperature, or excessive separation forces during printing.
The solution is not always to increase exposure time. Identifying where the print failed is the first step toward making the right adjustment.
1. Identify the Type of Build Plate Adhesion Failure
Before adjusting your dental resin printer settings, inspect the build plate and resin tank to determine exactly what happened.
Different failure patterns usually require different checks.
| Failure Symptom | Possible Cause | What to Check First |
|---|---|---|
| Build plate is completely empty, with cured resin stuck to the release film | Initial layers failed to adhere | Platform leveling, bottom exposure, release film |
| Only one side of the model sticks to the plate | Uneven platform position or local contamination | Build plate alignment, surface cleanliness |
| The raft partially lifts from the build plate | Inadequate initial adhesion or excessive separation force | Bottom-layer settings, raft geometry, lifting motion |
| The first layers stick, but the model falls into the vat later | Excessive peel forces or insufficient structural support | Model orientation, support design, lift settings |
| Supports remain attached, but the dental model is missing | Failure at the support-to-model connection | Support contacts, normal exposure, model geometry |
| Nothing cures on the plate or the release film | Possible exposure or optical system issue | LCD/DLP light output, file setup, optical path |
An important distinction is that build plate non-adherence and support failure are not the same defect.
If the raft remains attached but the dental model separates from its supports, changing the initial bottom exposure may not solve the actual problem.
Inspect the failed part before making adjustments.
2. Check Build Plate Leveling and Z-Axis Calibration
Incorrect build plate leveling is one of the first issues to investigate when dental resin prints fail during the initial layers.
During bottom-up resin printing, the build plate must be positioned correctly relative to the release film so that the first resin layers can form and attach to the platform.
If the distance is too large or the plate is tilted, the initial layers may not adhere consistently.
How to troubleshoot:
- Recalibrate the build plate. Follow the leveling procedure specified by the printer manufacturer rather than using a generic method for every machine.
- Check the Z-axis zero position. An incorrect home position may cause insufficient contact between the first layers and the platform.
- Inspect the mounting mechanism. Loose screws or an improperly secured build plate can affect repeatability.
- Look for uneven adhesion. If prints repeatedly fail in one corner or on one side, inspect the platform alignment and local surface condition.
- Run a small calibration print. Use a known test file to check whether the correction improves adhesion.
For dental labs using multiple printers, verify leveling after build plate replacement, significant maintenance, or mechanical adjustments.
Do not continue printing if the platform or Z-axis appears mechanically damaged.
3. Verify Bottom Exposure Time and Bottom Layer Count
Bottom exposure time determines how long the initial layers receive UV exposure. These layers help establish adhesion between the resin part and the build plate.
If bottom exposure is insufficient, the initial layers may fail to grip the platform and separate during the first lifting movements.
However, excessive bottom exposure can create other problems, including difficult part removal, oversized initial layers, and dimensional distortion.
Why Bottom Exposure Settings Are Not Universal
The correct settings depend on several factors:
- Printer model: Optical power and exposure characteristics differ between LCD and DLP systems.
- Resin formulation: Pigmentation, photoinitiator systems, and material composition influence curing behavior.
- Layer thickness: Different layer heights require suitable exposure profiles.
- Bottom layer count: The number of initial layers affects how the adhesion base is formed.
- Printing conditions: Resin temperature, release behavior, and machine condition can change the printing result.
RayForm provides printer-specific resin profiles through its Dental Resin Printing Parameter Database.
Example: RayForm Dental Model Resin Settings
The following examples demonstrate why bottom exposure settings should not be copied between different printers.
| Printer Model | Layer Height | Normal Exposure | Bottom Exposure | Bottom Layers |
|---|---|---|---|---|
| Phrozen Sonic Mini 8K S | 0.05 mm | 4.6 s | 25 s | 3 |
| Phrozen Sonic Mini 4K | 0.05 mm | 6.9 s | 38 s | 3 |
| Anycubic Photon Mono M7 | 0.05 mm | 3.3 s | 23 s | 4 |
| Anycubic Photon Mono M7 Pro | 0.05 mm | 2.4 s | 16 s | 4 |
A bottom exposure of 25 seconds on one printer does not necessarily provide the same adhesion behavior as 25 seconds on another printer.
How to fix insufficient bottom exposure:
- Confirm that the selected profile matches the exact printer and resin.
- Verify the layer height and bottom layer count.
- Check leveling and surface conditions before changing exposure.
- If the printer and resin instructions permit calibration, make controlled exposure adjustments.
- Print the same test geometry and compare the results.
For detailed printer-specific examples, read Dental Resin Print Settings for Phrozen and Anycubic.
4. Inspect the Build Plate Surface and Resin Tank
Even with appropriate printing parameters, contaminated or damaged components can cause adhesion failures.
Resin residue, dust, grease, or cured particles on the build plate may interfere with consistent initial-layer formation.
The resin tank also needs inspection. Cured debris, cloudy release film, scratches, or film damage can affect light transmission and the separation process.
Build Plate and Resin Tank Inspection
| Component | What to Inspect | Recommended Action |
|---|---|---|
| Build plate | Resin residue, contamination, visible damage | Clean and inspect according to the printer manual |
| Build plate mounting | Loose fittings or unstable position | Secure and recalibrate as instructed |
| Release film | Cloudiness, scratches, wrinkles, punctures | Replace when required by the manufacturer |
| Resin tank | Detached cured resin, particles, contamination | Remove debris using the approved tank-cleaning procedure |
| Optical window | Dust, fingerprints, resin contamination | Clean using the printer-approved method |
| Light source | Missing or uneven illumination | Run the manufacturer's exposure or screen test |
Important: After an adhesion failure, check the resin tank for hardened material before restarting the printer.
A detached resin layer or broken support fragment can remain on the release film. Printing over these objects may cause another failed build or damage the equipment.
5. Check Resin Temperature and Material Preparation
Resin handling conditions can also influence build plate adhesion.
When resin is too cold for its recommended processing range, its viscosity may increase, making it more difficult to flow and replenish consistently between layers.
Temperature can also affect curing and separation behavior.
Before starting a print:
- Check the resin's recommended operating temperature.
- Allow the material to reach the specified printing conditions.
- Mix or homogenize the resin according to its instructions.
- Confirm that the material has been stored correctly.
- Avoid introducing cleaning solvent, water, or other contaminants into the resin tank.
If adhesion failures started after a resin change, verify that the new material is using its own printing profile.
Do not assume two dental model resins will print identically simply because they have the same intended application or color.
6. Reduce Excessive Separation Forces During Printing
In bottom-up LCD and DLP printing, each cured layer must separate from the release film before the next layer is formed.
If the separation force becomes greater than the adhesion holding the part to the build plate, the print may detach.
This can happen even when the initial layers cure successfully.
Factors That Increase Separation Problems
- Large cross-sectional areas: A broad resin layer can create greater separation forces than a smaller, well-oriented section.
- Unsuitable model orientation: Flat or poorly positioned geometry may increase the area separating from the film at once.
- Incorrect lifting settings: Excessive lifting speed or unsuitable movement settings may contribute to detachment.
- Insufficient supports: Dental parts with complex geometry may fail when support contact points cannot resist separation forces.
How to Improve Print Stability
- Review model orientation to avoid unnecessarily large cross-sections.
- Use a suitable raft or base when required by the geometry and printer workflow.
- Inspect support contact points for crowns, surgical guides, and other complex parts.
- Use lift and retract settings appropriate for the printer–resin combination.
- Check the release film condition before changing multiple motion parameters.
For dental models, successful adhesion must be balanced with dimensional accuracy and convenient removal from the platform.
The goal is not maximum possible adhesion. It is sufficient, repeatable adhesion without compromising part quality.
7. A Step-by-Step Troubleshooting Checklist for Dental Labs
If dental resin prints repeatedly fail to stick to the build plate, use the following sequence to isolate the problem.
| Step | Check | What the Result Tells You |
|---|---|---|
| 1 | Inspect the empty or partially detached build plate | Identifies complete or partial adhesion failure |
| 2 | Inspect and clean the resin tank | Eliminates cured debris as a recurring problem |
| 3 | Check the platform surface and mounting | Identifies contamination or mechanical issues |
| 4 | Recalibrate the platform and Z-axis | Checks whether the initial layer position is correct |
| 5 | Confirm printer, resin, and layer-height profile | Identifies incorrect exposure settings |
| 6 | Check material temperature and preparation | Identifies unsuitable resin handling conditions |
| 7 | Review orientation, raft, supports, and lifting settings | Investigates excessive separation forces |
| 8 | Run a controlled calibration print | Determines whether the corrective action worked |
Change one variable at a time whenever possible.
For example, if a print fails because the build plate was not leveled correctly, simultaneously changing bottom exposure, lifting speed, and support density can make the actual cause harder to identify.
Once a small test print succeeds, verify representative dental parts before restoring normal production.
8. Preventing Build Plate Adhesion Failures in Dental Production
Dental laboratories that print models and restorations every day need consistent procedures rather than repeated trial and error.
A simple production checklist can reduce avoidable failures:
- Before printing: Confirm the resin product code, printer profile, build plate condition, and tank cleanliness.
- After changing materials: Verify the selected resin profile rather than keeping the settings from the previous material.
- After a failed print: Remove cured debris and inspect the film before starting another job.
- After maintenance: Recheck leveling and affected machine settings.
- During batch production: Record recurring failures by machine, resin batch, model type, and printing conditions.
- Before approving production: Confirm that printed parts meet dimensional, structural, and application-specific requirements.
For dental labs printing surgical guides, splints, crowns, or other patient-contact parts, a successful print is only the first quality requirement. The selected resin and complete processing workflow must also be appropriate for the intended application.
FAQ
Why does my dental resin print stick to the FEP film instead of the build plate?
The first layers may not have formed sufficient adhesion to the build plate to withstand separation from the release film. Common causes include incorrect platform leveling, insufficient bottom exposure, contamination, or excessive peel forces. Inspect the platform and tank before adjusting the printing profile.
Should I increase bottom exposure if nothing sticks to the build plate?
Only after checking leveling, plate cleanliness, resin condition, and the correct printer profile. Increasing bottom exposure can help when insufficient initial curing is the cause, but excessive exposure may produce dimensional defects or make printed parts difficult to remove.
Why do dental resin prints stick on one side but fail on the other?
Uneven adhesion may indicate a leveling problem, an unstable build plate, local contamination, damaged release film, or uneven light delivery. Check the mechanical alignment and affected area before changing exposure parameters.
Can cold dental resin cause build plate adhesion problems?
Yes, resin temperature can affect viscosity, curing, and the separation process. Always follow the recommended processing temperature for the material rather than using an arbitrary temperature setting.
Why do the supports print but the dental model falls off?
This usually points to a support-to-model failure rather than initial build plate adhesion. Review support contact size, placement, model orientation, and normal-layer exposure. Increasing bottom exposure alone may not correct this issue.
Can I use the same build plate adhesion settings for all RayForm dental resins?
No. Dental model resin, surgical guide resin, splint resin, crown resin, and other formulations may require different printing parameters. Select the exact material and printer combination from the RayForm Printing Parameter Database.
Get RayForm Technical Support for Dental Resin Printing Failures
Repeated build plate adhesion failures can result from printer setup, resin preparation, exposure parameters, release film condition, or model geometry. Identifying the specific cause helps reduce unnecessary material waste and production interruptions.
RayForm supplies dental 3D printing resins for dental models, crowns, splints, surgical guides, and denture applications, with technical documents and printer-specific parameter resources.
If your dental resin prints are not sticking to the build plate, send us your printer model, resin product code, layer height, bottom exposure time, bottom layer count, lifting settings, and photos of the failed print.
Our technical team can review the available resin profile and help identify the appropriate troubleshooting steps for your equipment and material combination.
Visit the RayForm Support Center to find material documents or contact our team for technical assistance.