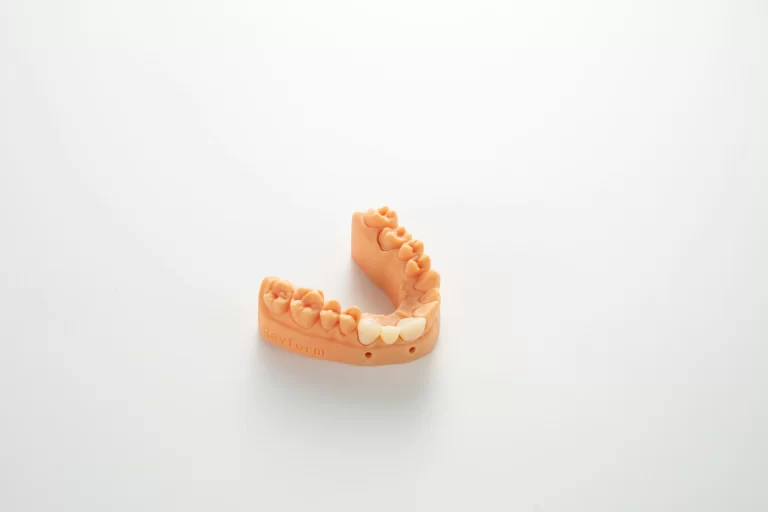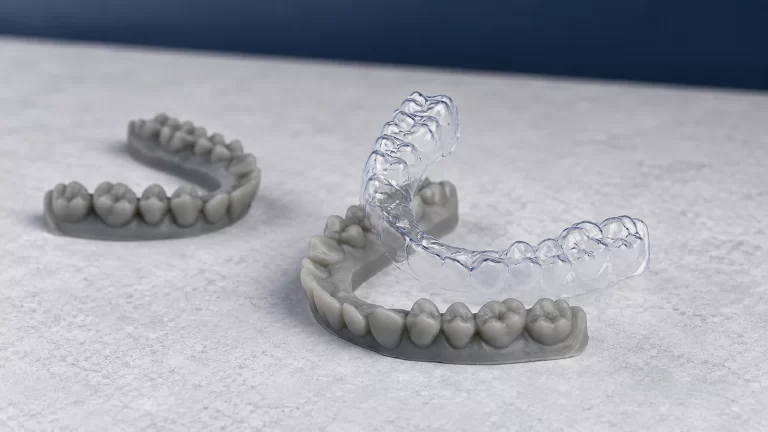

DLP resin printers form each layer with projected light controlled by micromirrors. LCD printers use a liquid-crystal screen to mask a light source. Both expose a layer as an image. For a dental lab, the choice depends on measured part quality, usable batch capacity, material workflows, and operating cost. [1][2]
Start with the parts you need to produce and the acceptance criteria they must meet. A technology label, pixel count, or advertised maximum speed cannot answer those questions on its own.
How do DLP and LCD resin printers work?
Digital light processing (DLP) uses a digital micromirror device, or DMD, to form the light pattern for a layer. Projection optics deliver that pattern to the resin. Selected areas receive enough light to cure. The system then prepares the next layer and repeats the process. This is area exposure, rather than tracing the cross-section with a scanning laser. [1]
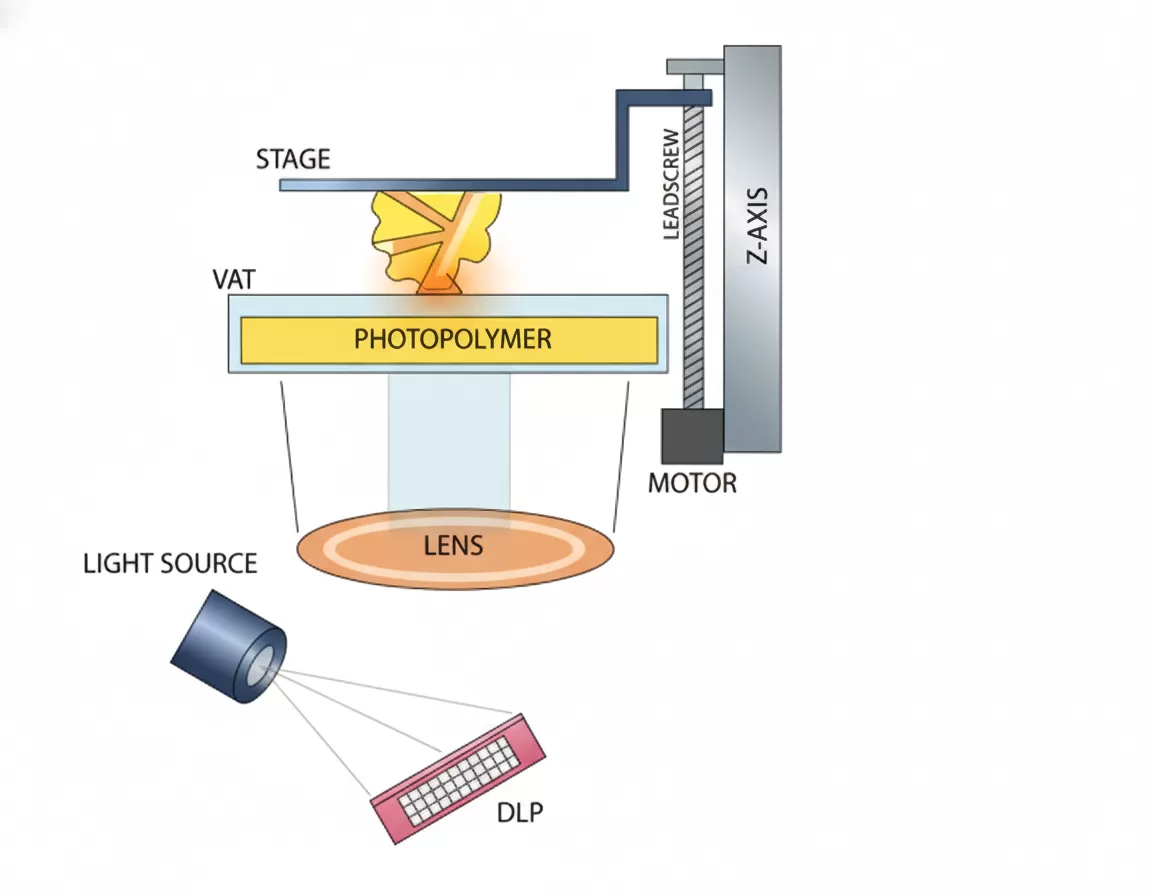
LCD resin printing is commonly called masked stereolithography, or MSLA. A light source illuminates an LCD, which selectively transmits or blocks light to define the layer. The LCD acts as a mask; it is not the curing light source itself. The exposed resin forms the cross-section before the next layer is prepared. [2]
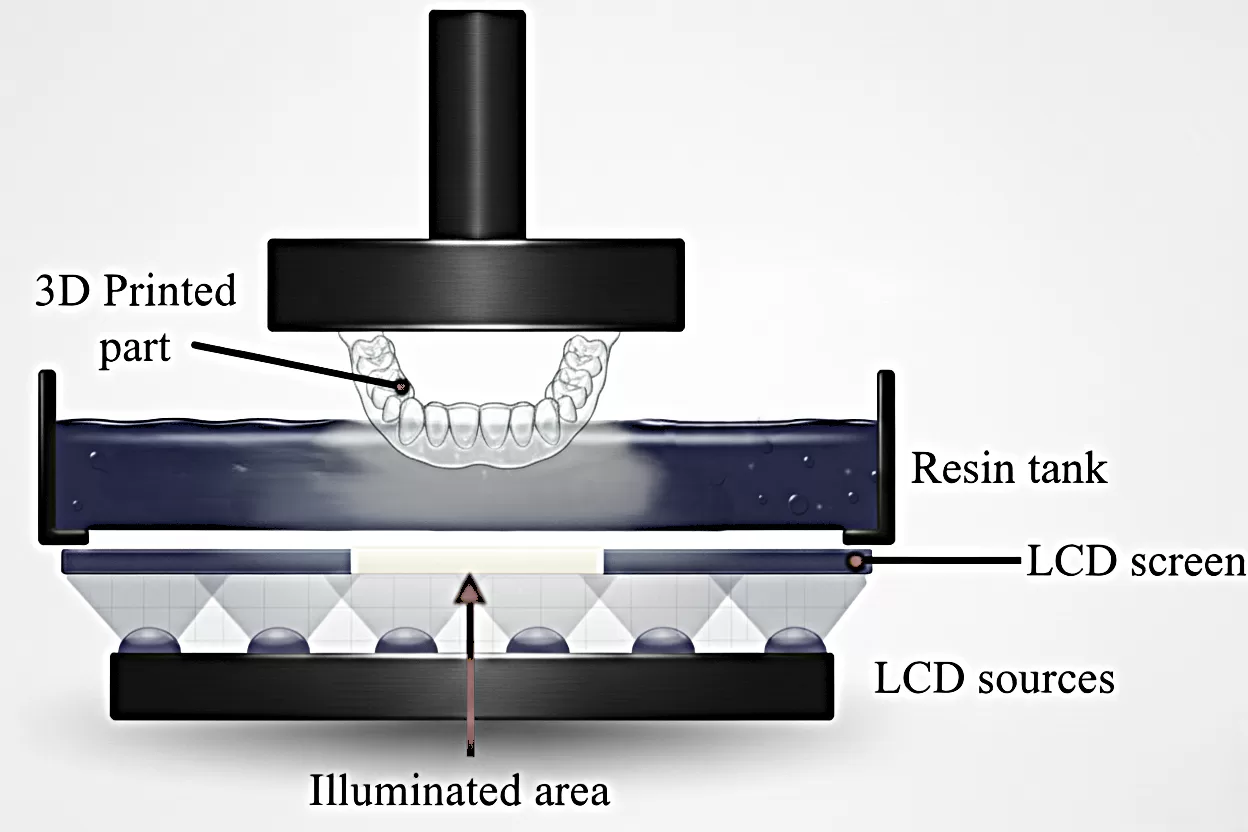
DLP systems can use top-down or bottom-up arrangements. The optical label does not specify every detail of how a machine prepares successive layers. Read each schematic as an example of a particular arrangement, and check the build and handling sequence of the printer you are evaluating. [2]
What determines accuracy and surface detail?
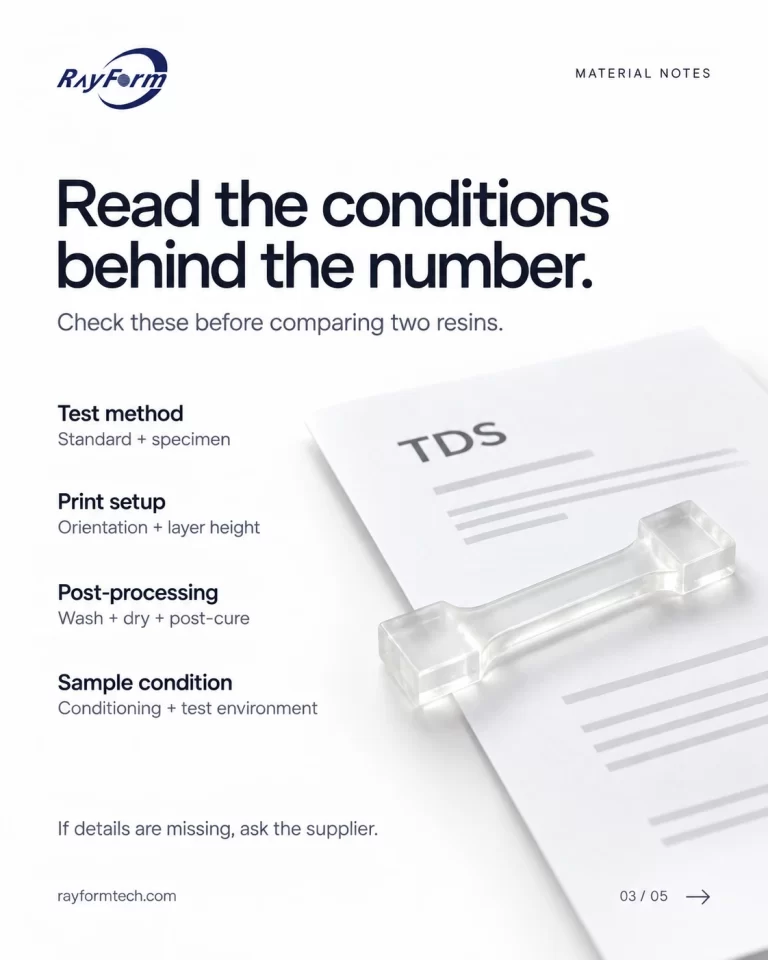
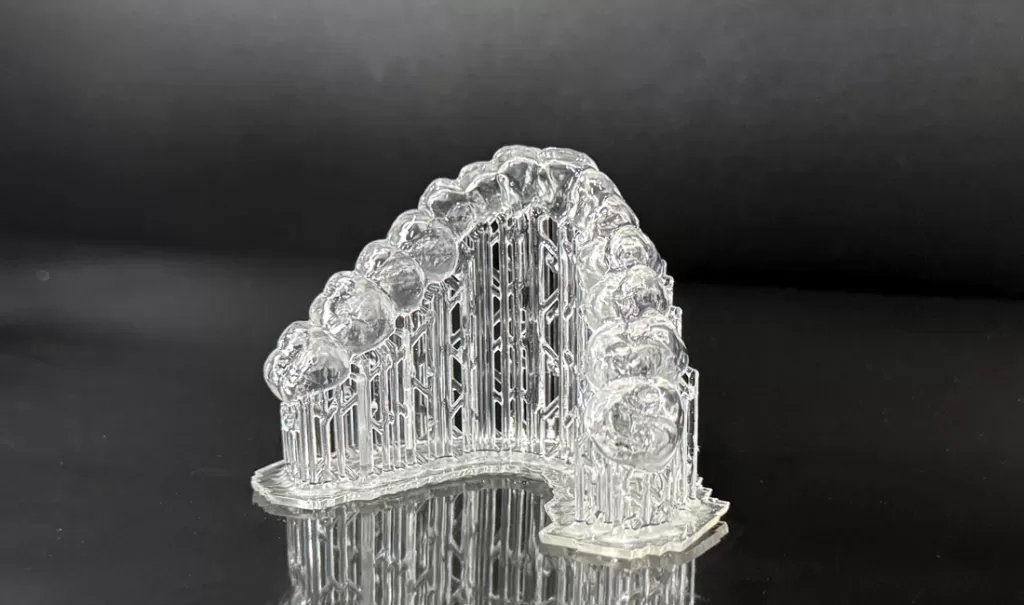
Pixel size describes part of the imaging system. It is not a guaranteed dimensional tolerance. Light distribution, resin behavior, temperature, mechanical consistency, layer settings, and support strategy also affect the printed result. [3] Compare the dimensions and surfaces that matter to your work after the specified washing and curing process. For dental models, that may include arch dimensions, local detail, and repeatability across the build platform.
Does full-layer exposure make one printer faster?
DLP and LCD both expose the layer as an image, so neither has to trace every contour with a single laser spot. [1][2] That does not establish a universal speed winner. Compare the complete job at the stated resin, layer thickness, orientation, and platform loading. Include the time needed to prepare successive layers, remove the parts, wash them, and complete the specified post-cure.
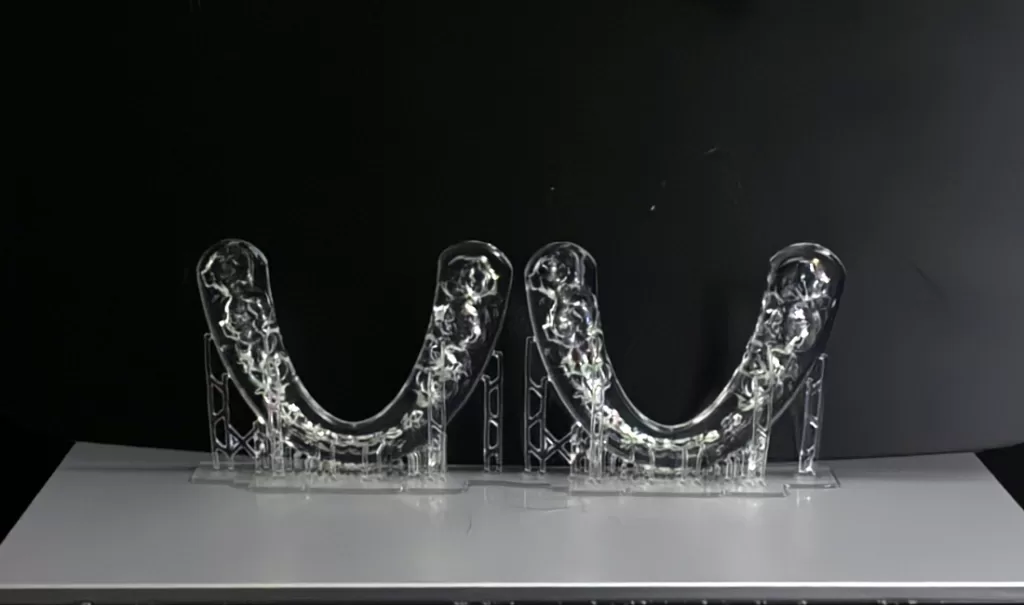
Include support removal and finishing in the trial. Compare support marks, time spent removing supports, and the number of acceptable parts after processing. Use the trial to establish the finishing effort for the chosen material and setup.
DLP vs LCD: what should a dental lab compare?
Neither DLP nor LCD is automatically the better dental printer. Shortlist machines that support your required material workflow, then compare the same part files against the same acceptance criteria. A full-platform trial is more useful for a purchasing decision than a technology-wide claim of superior speed or precision.
| Compare | DLP | LCD / MSLA | What to check |
|---|---|---|---|
| Layer image | DMD-controlled projection optics. [1] | LCD mask illuminated by a separate light source. [2] | Understand the exact optical and mechanical system offered. |
| Resolution and accuracy | Projected pixel size is an input, not a finished-part tolerance. | LCD pixel size is an input, not a finished-part tolerance. | Measure the relevant finished dimensions and surface detail. [3] |
| Speed and usable capacity | Full-layer exposure; evaluate the complete job. | Full-layer exposure; evaluate the complete job. | Use comparable part files and documented processing conditions. |
| Material workflow | Confirm the supported resin and process for the application. | Confirm the supported resin and process for the application. | Request the current material instructions and printer profile. |
| Operating cost | Obtain model-specific consumable, service, and labor costs. | Obtain model-specific consumable, service, and labor costs. | Calculate cost per accepted part from your proposed workflow. |
Use a representative dental model or other production part as an acceptance sample. Record the machine settings, resin, orientation, build position, and post-processing method. NIST describes this general approach to assessing additive manufacturing systems through documented test parts and measured results. [4]
Compare the cost per accepted part, including material, consumables, operator time, service, and reprints. Ask for model-specific quotations and documented consumable replacement intervals.
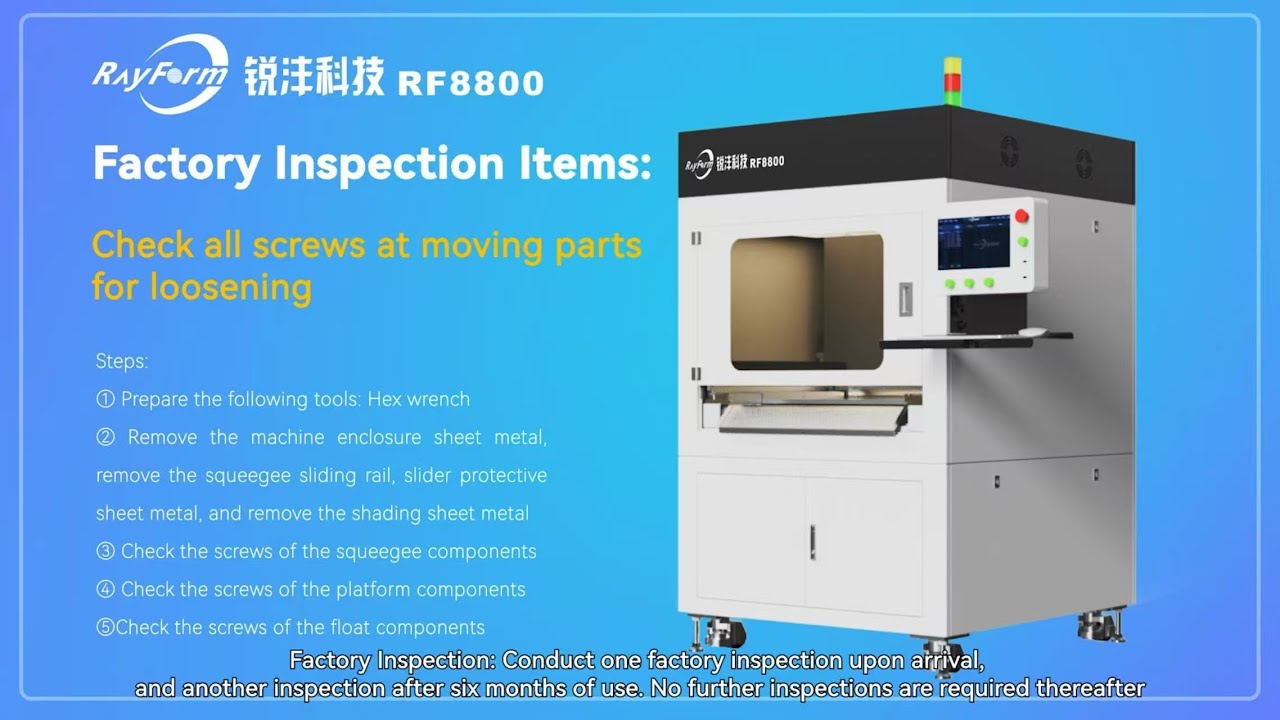
RayForm RF-8800: evaluating an industrial DLP option
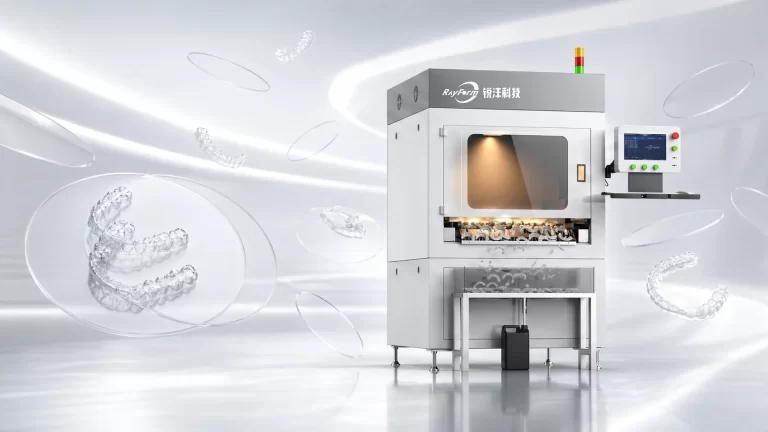
The RF-8800 is one of the systems presented in RayForm’s industrial DLP printer range. If you are comparing production equipment, use the current quotation and configuration sheet to establish what is included. The questions below help turn a model comparison into a production trial.
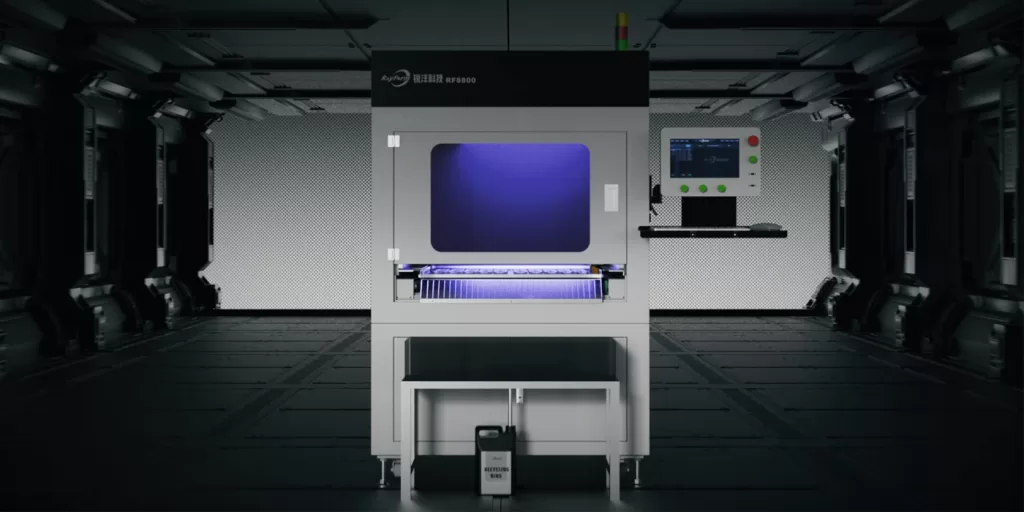
RF-8800 3D Printer Front View
For an RF-8800 evaluation, ask about:
Batch layout: the usable build area, part orientation, spacing, and number of your parts in the proposed job.
Imaging and maintenance: the optical configuration, calibration procedure, service support, and replacement terms for that machine.
Job timing: the resin, layer thickness, file height, and preparation and handling time behind the quoted cycle.
Automation scope: which removal, refill, cleaning, and scheduling steps are included, and which still require an operator. Watch the RF-8800 inspection video below for a closer look at the equipment.
RayForm RF-3024D: evaluating a desktop LCD option
The RayForm RF-3024D is a desktop 4K LCD option for a dental workflow. Assess it with the same finished-part criteria used for the DLP shortlist. Watch the RF-3024D unboxing video, then discuss the supplied configuration with our team.
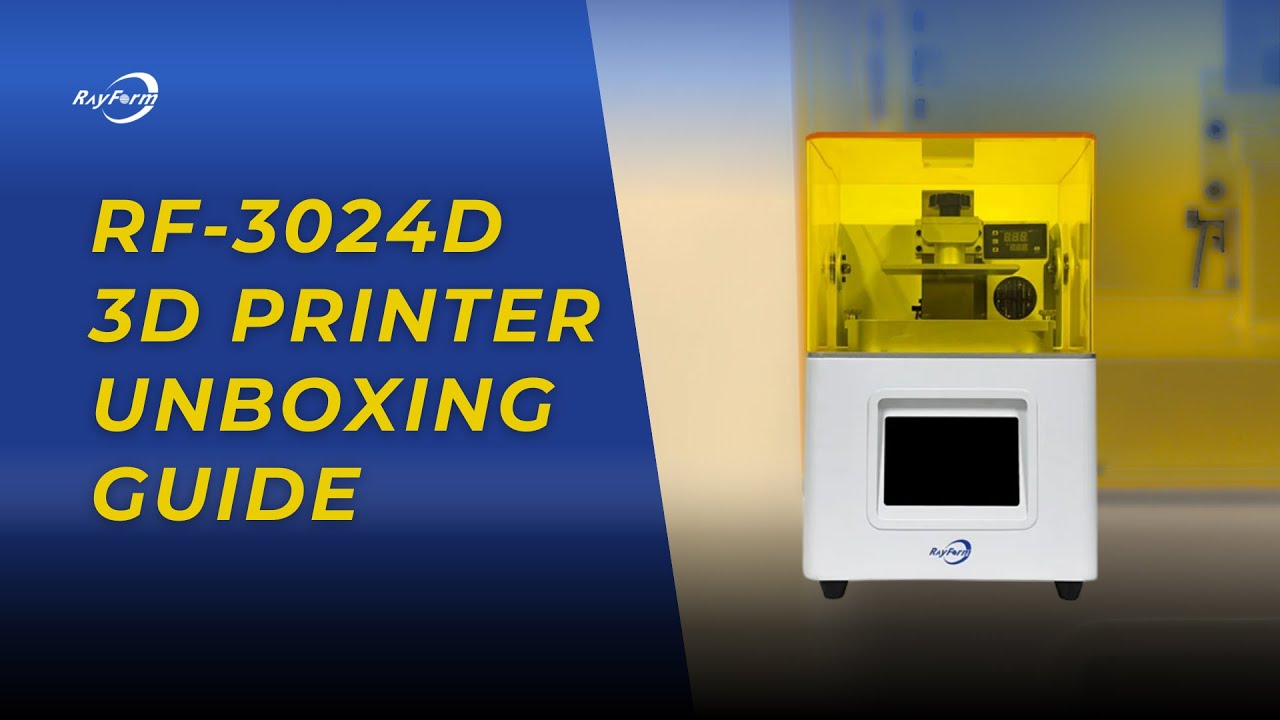
For an RF-3024D dental 4K LCD printer evaluation, ask about:
Working format: the platform supplied with the machine and the space available for your intended part layout.
Material setup: the resin profile, supported layer thicknesses, and required washing and post-curing process.
Daily operation: file preparation, job transfer, resin changes, cleaning, and the consumables the operator will replace.
Measured output: elapsed time and accepted parts from your trial file. Confirm the conditions behind any maximum-speed claim rather than using it as a production forecast.
How to choose your dental printing workflow
Choose the machine and material combination that meets your quality requirements at the output and cost your lab needs. Establish the intended application first, then review the RayForm dental resin range and the relevant material documentation. A resin’s suitability for a specific use cannot be inferred from “DLP” or “LCD” alone.
Use the printing parameter and post-processing references to prepare a supported workflow. Watch the dental printing demonstration below to explore an application.
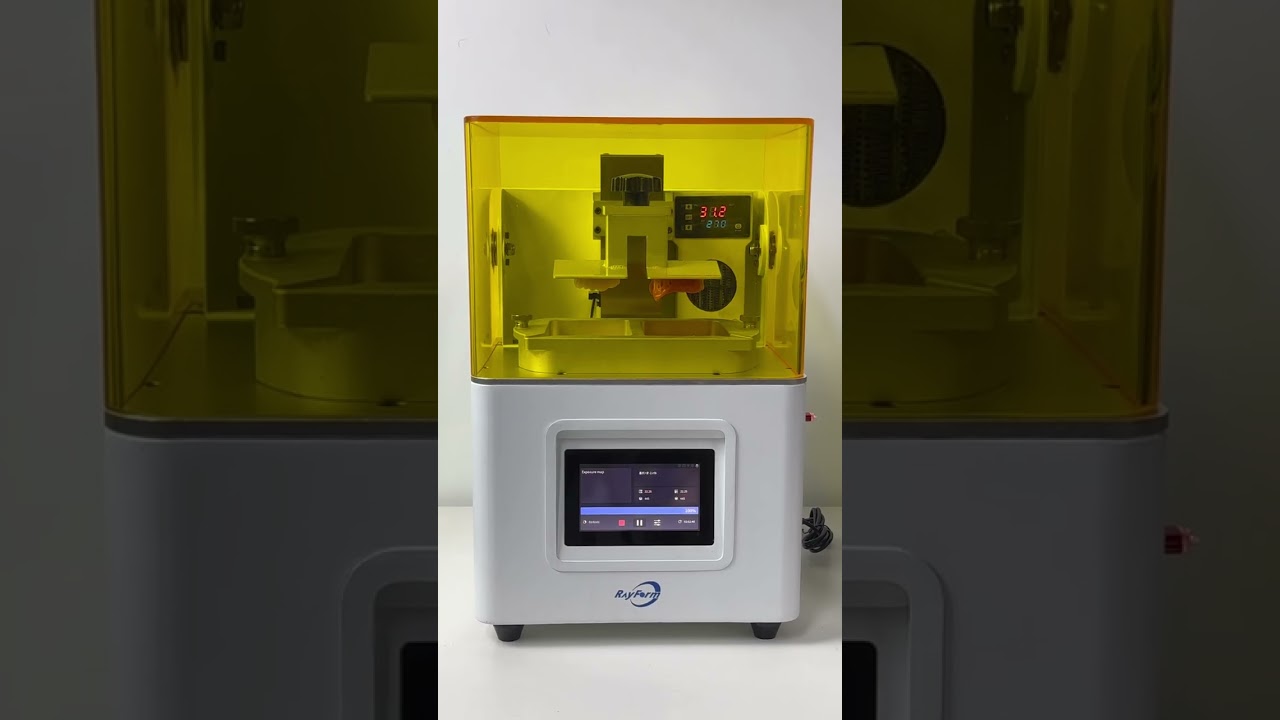
To discuss a printer and material workflow, contact RayForm with the part type, intended resin, expected daily quantity, and the dimensions or surface features you need to check. Agree on the sample job and acceptance criteria before comparing quotations.
Sources
[1] Texas Instruments — TI DLP Technology for 3D Printing (DLPT019F, August 2025). DMD-based patterned exposure.
[2] Formlabs — Guide to Resin 3D Printers: SLA vs. DLP vs. MSLA vs. LCD. LCD masking and full-layer exposure; manufacturer technical explanation.
[3] Formlabs — How Pixel Size Impacts Accuracy, Feature Size, and Surface Finish. Why imaging specifications alone do not establish printed-part performance; manufacturer study.
[4] NIST — Additive Manufacturing Test Artifact. Documented test parts and measurements for evaluating an AM system.